

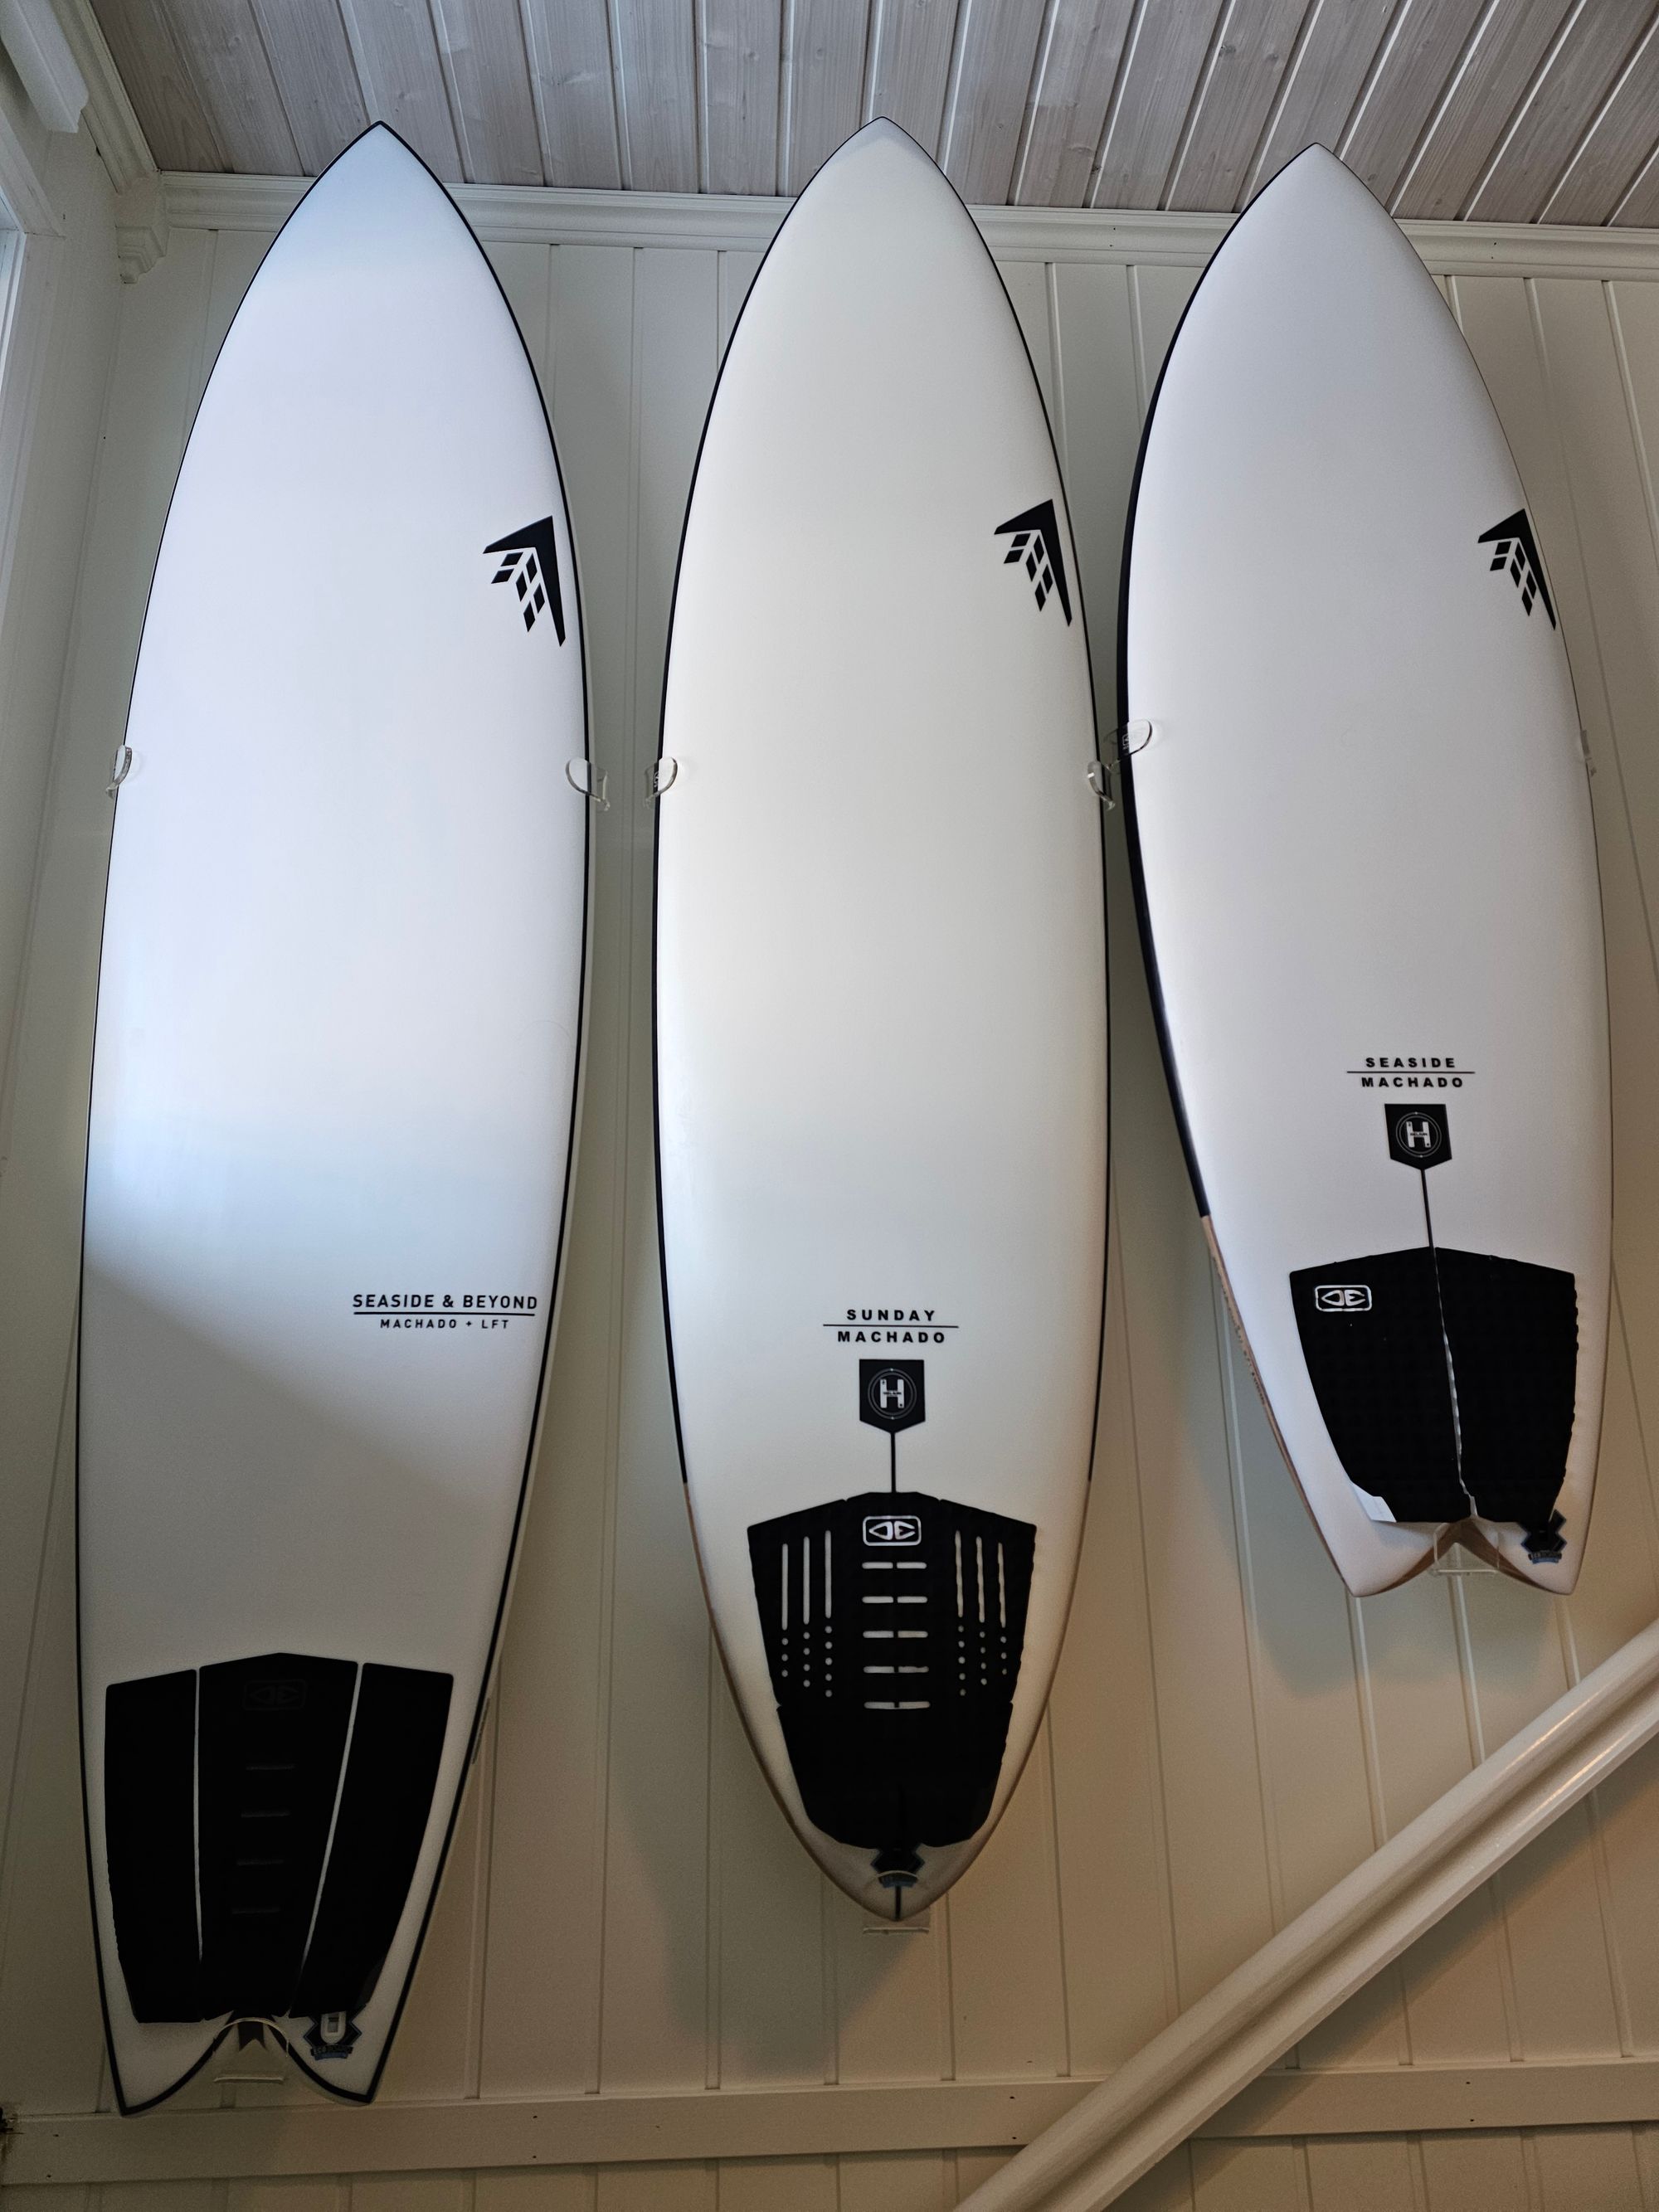
I recently bought six Ocean & Earth Invisible Wall Display Rack - Vertical.
Surely for "display", but mostly for convenient wall storage in the stairway.

I've ended up with a number of well designed/manufactured/priced O&E things.
So I wasn't too worried when not finding any reviews, and decided to give it a try.
The O&E product page does not say exactly what this product is intended to do.
Clearly (clear as the quite tough PMMA the rack is made of), you should be able to use their rack for some types and sizes of surfboards, for a more or less permanent display. With an otherwise nice board with damaged bottom, with an infrequently used board, or with other scenarios that produces a nice and cheap art substitute.
But is this rack convenient if you want to use the board rather frequently?
That is, for both display and storage.
And how well does it fit types and sizes surfboards?
And is it too easy for the board to drop out of the rack and crack the tail?
What Q&E says:
Fits 1 surfboard
Vertical display rack
Polished invisible Acrylic
Choice of 2 tail attachments included
Suits all board types with or without fins
Adjustable rail arms on centre bracket to suit boards 17.5" tp 23." wide
Suits all board lengths to weight of 10kgs
As a summary of my findings, much of this is fine, but the statement "suits all board types" should rather be "could be used with all board types". I'll explain.
Choice of material
Rest assured, as long as transparent parts is a design priority, PMMA (or acrylic glass, or maybe the more familiar brand names like Plexiglas, Acrylite and Lucite) is a good choice of material for this application.
While this grade of acrylic is quite robust, impact strength is not nearly the same as polycarbonate. It is likely that acrylic is chosen to keep production costs down.
Manufacturing
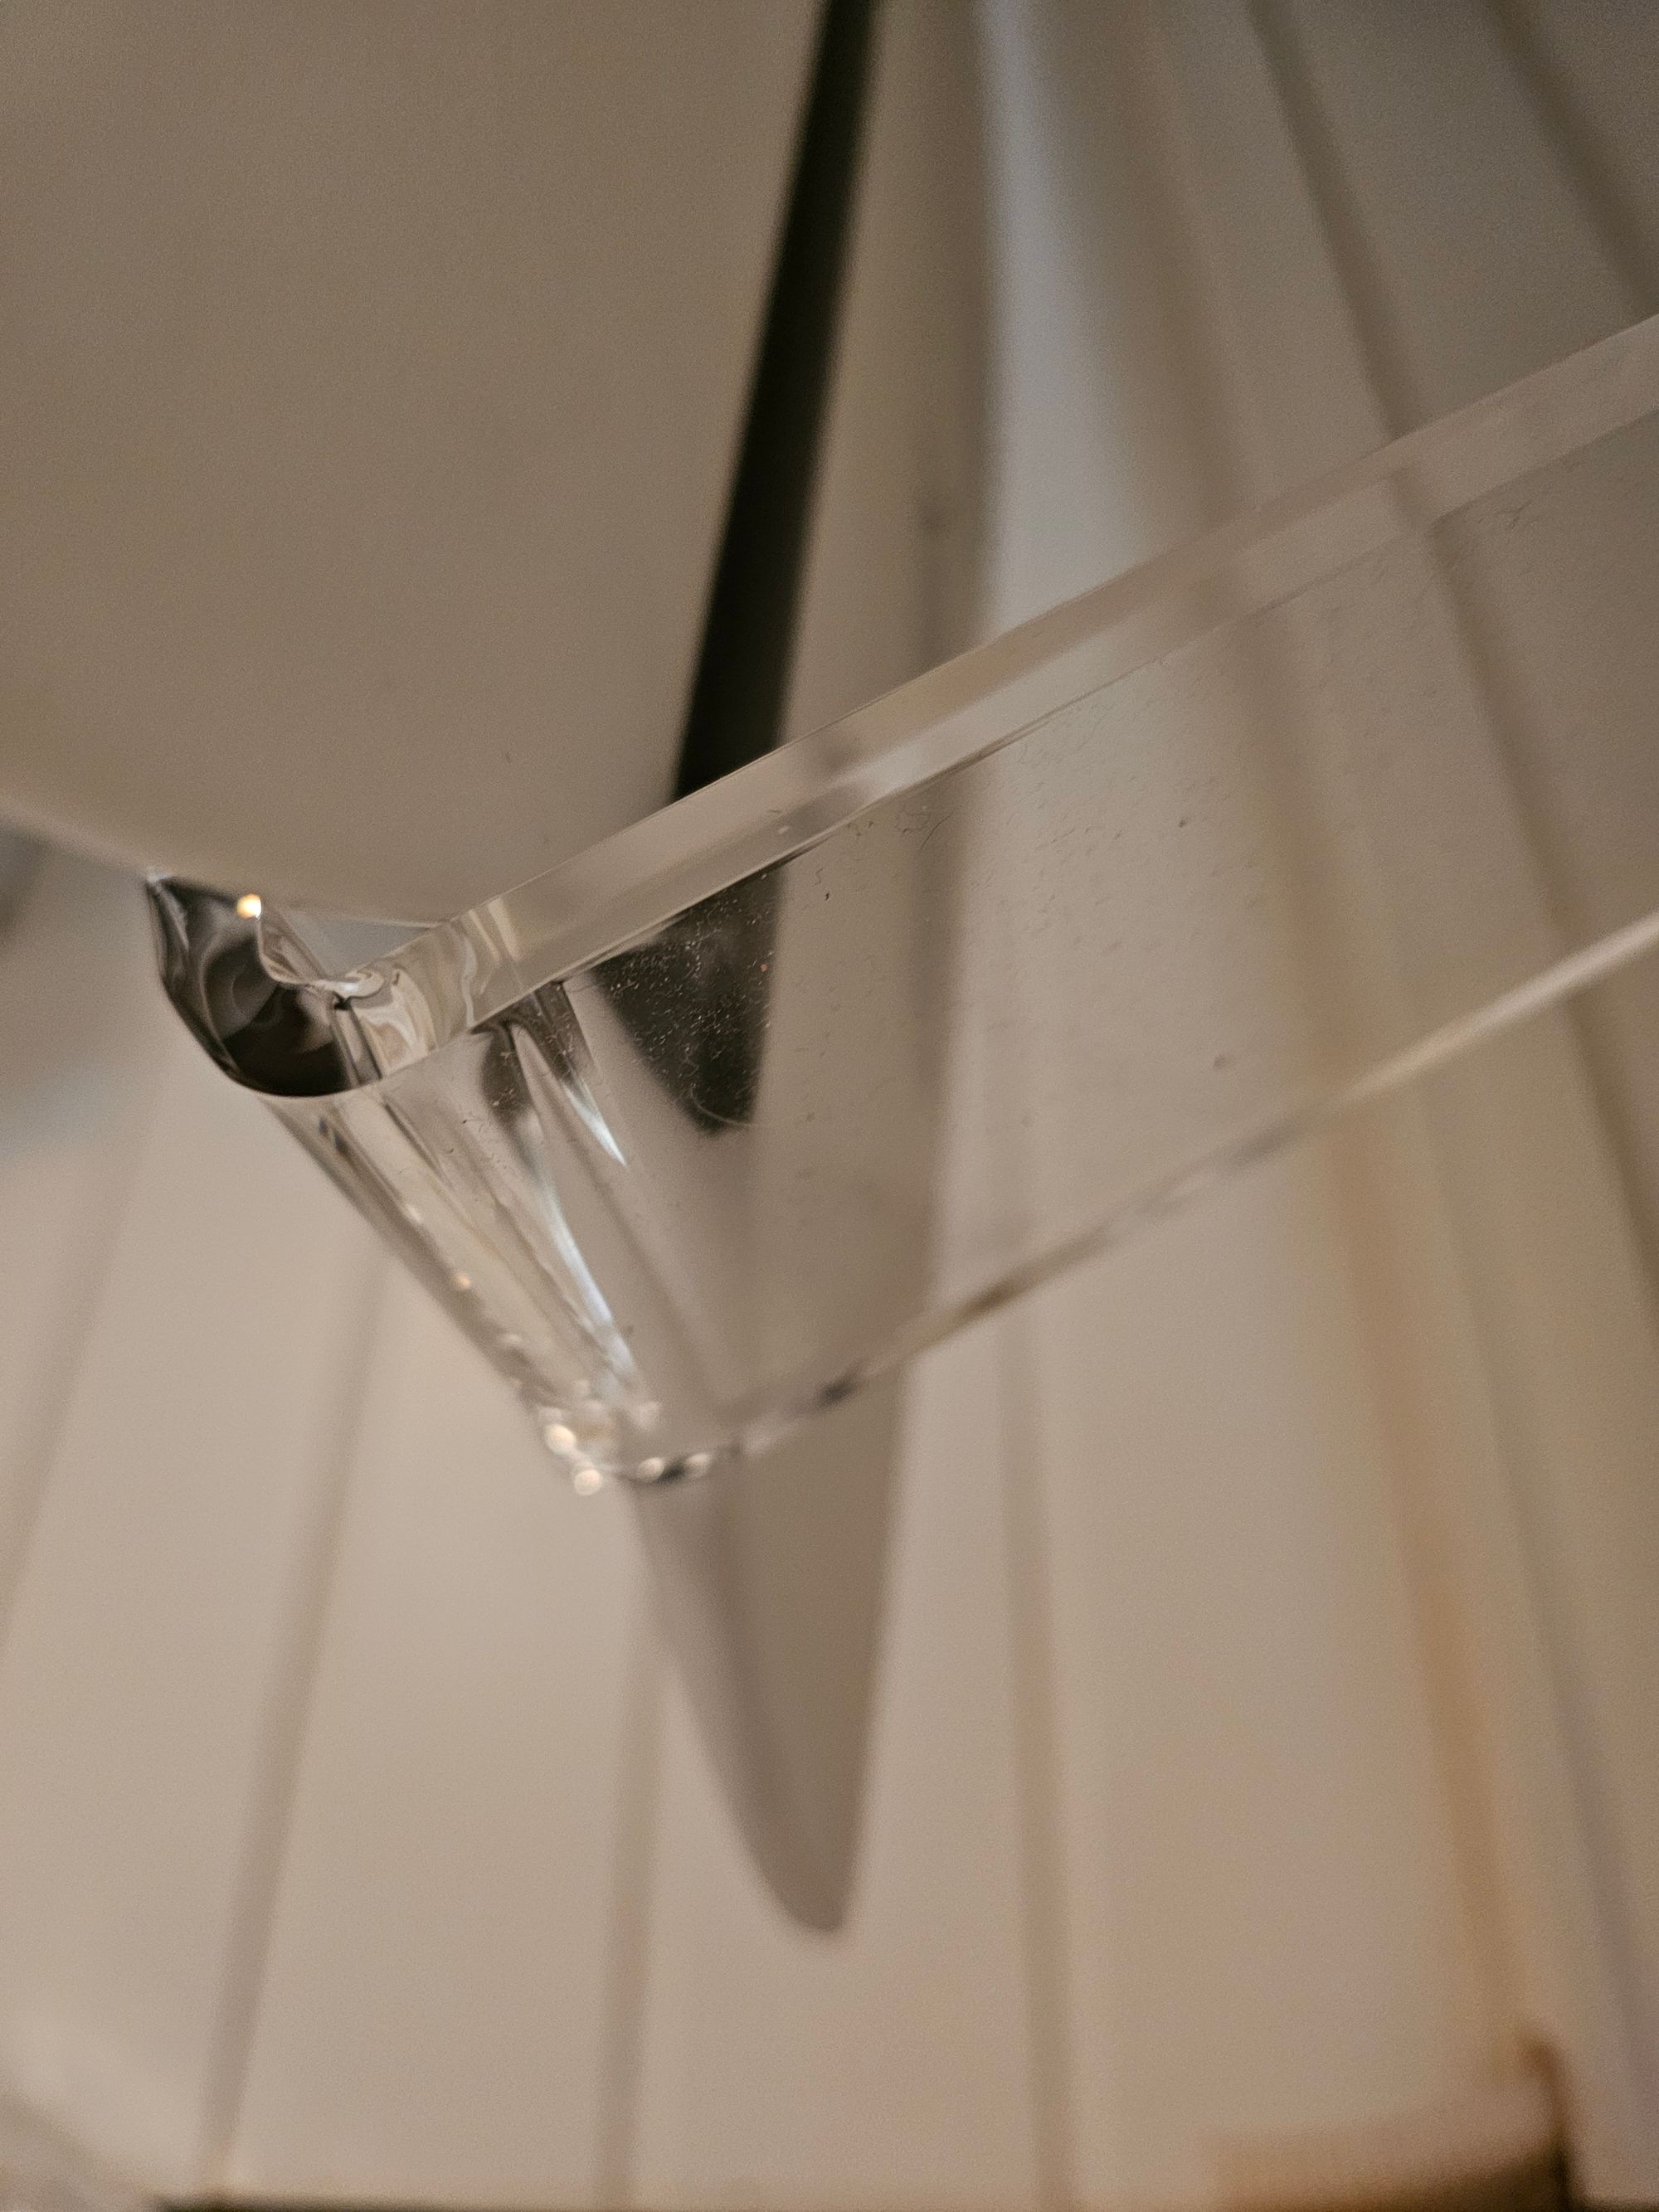
I was very curious about the quality in manufacturing. While mounting the first board, I found the "polishing" process to have been almost perfect. Not a single scratch. And more important, not the tiniest crack at edges exposed to stress.
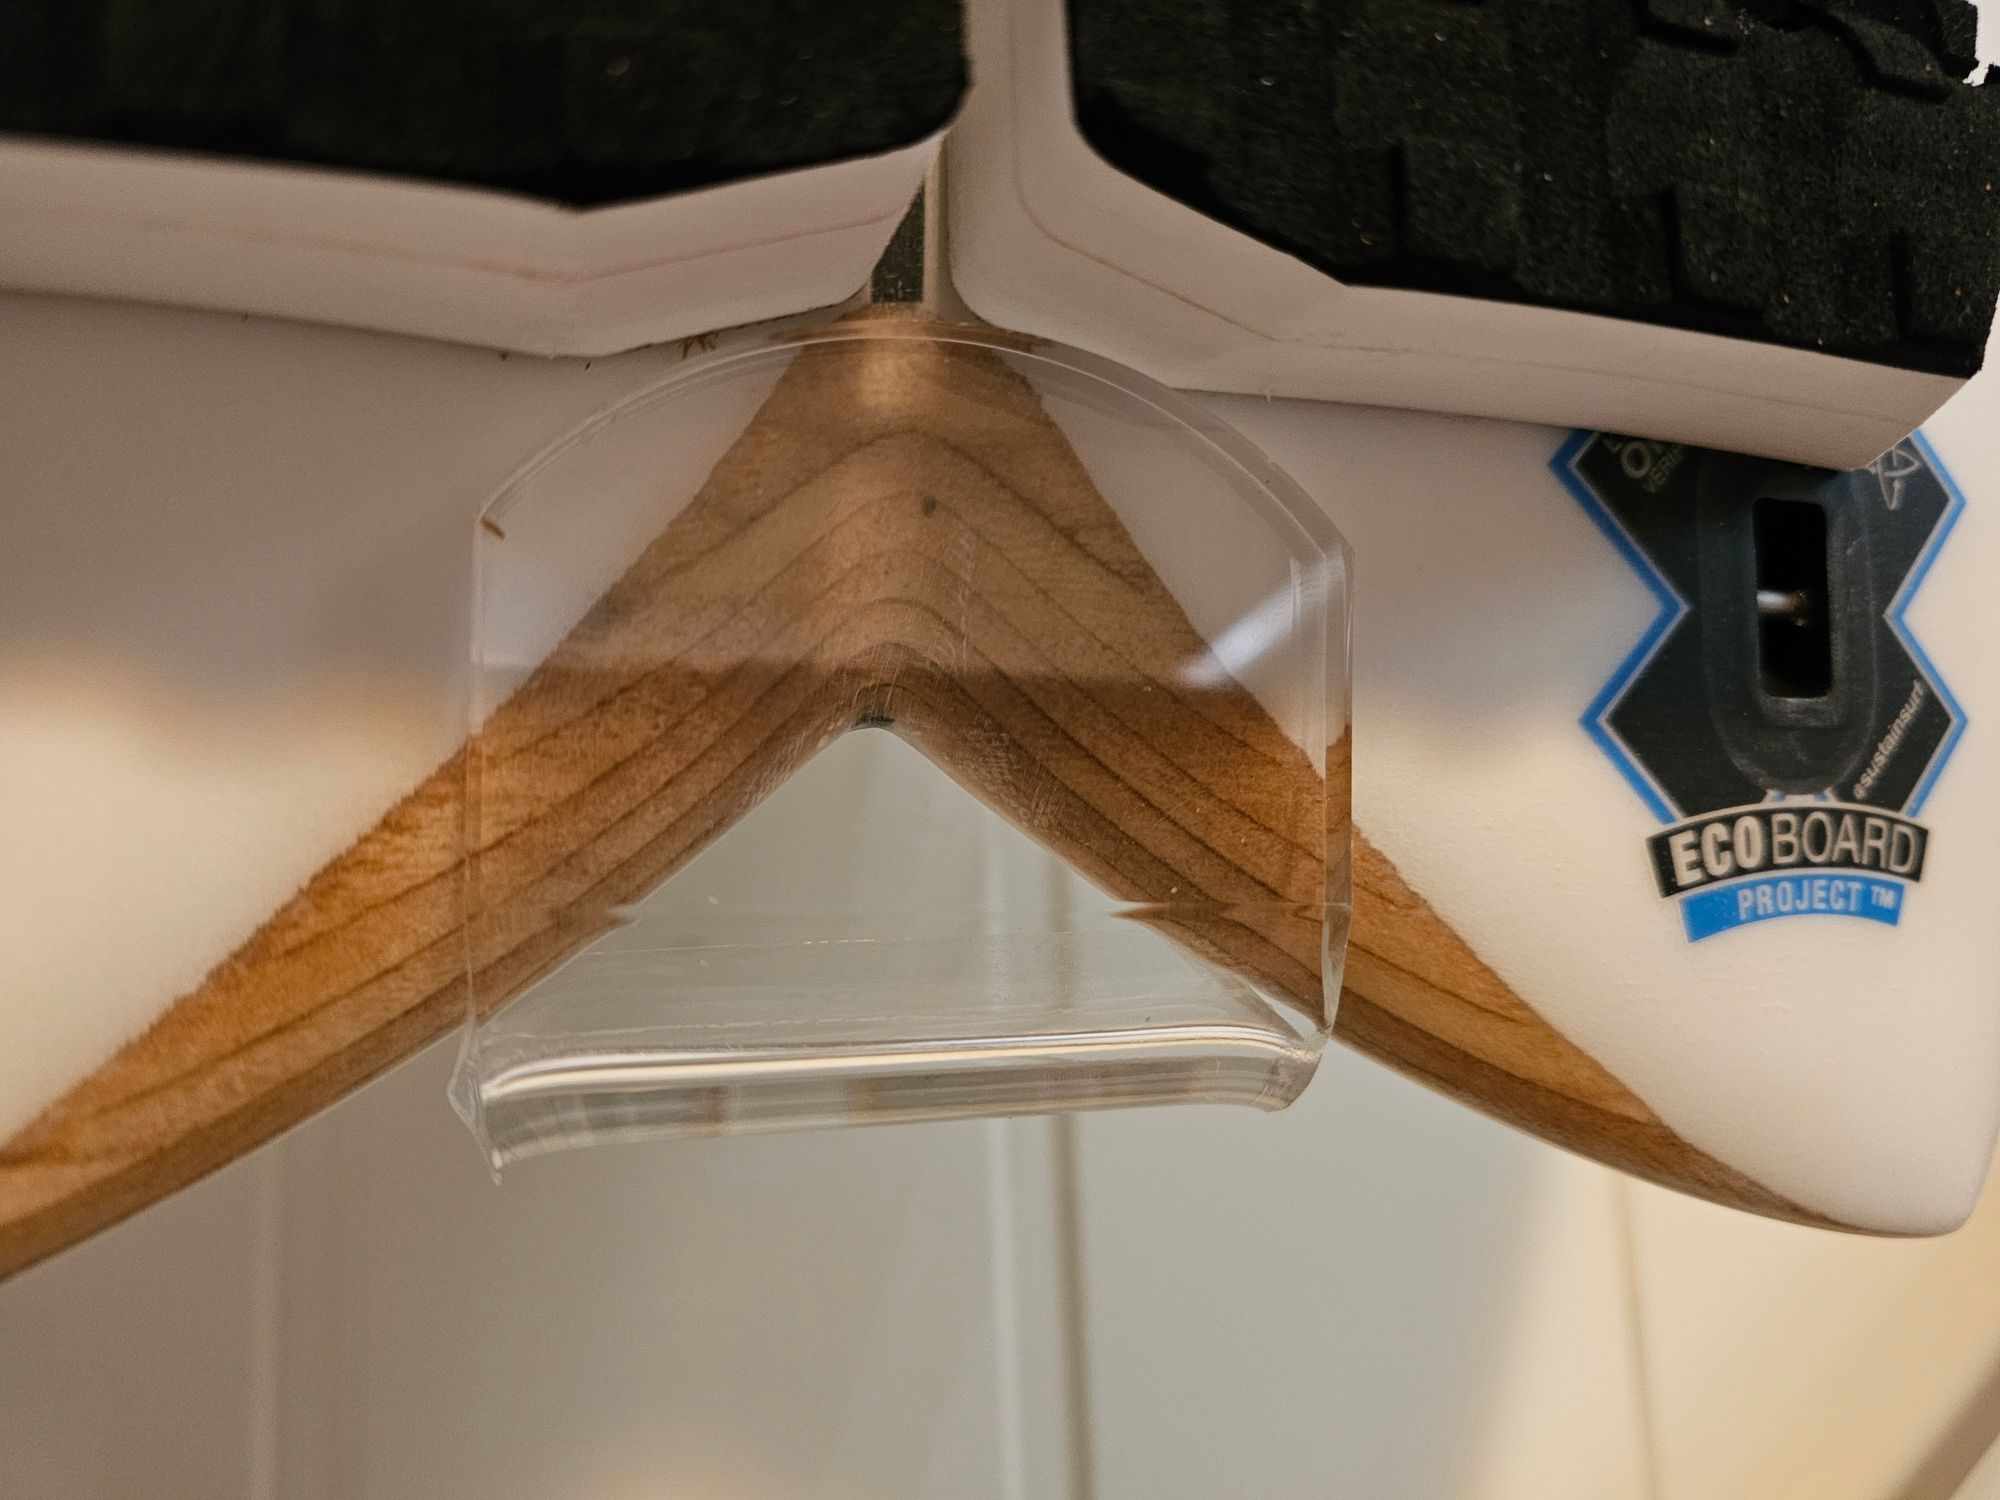
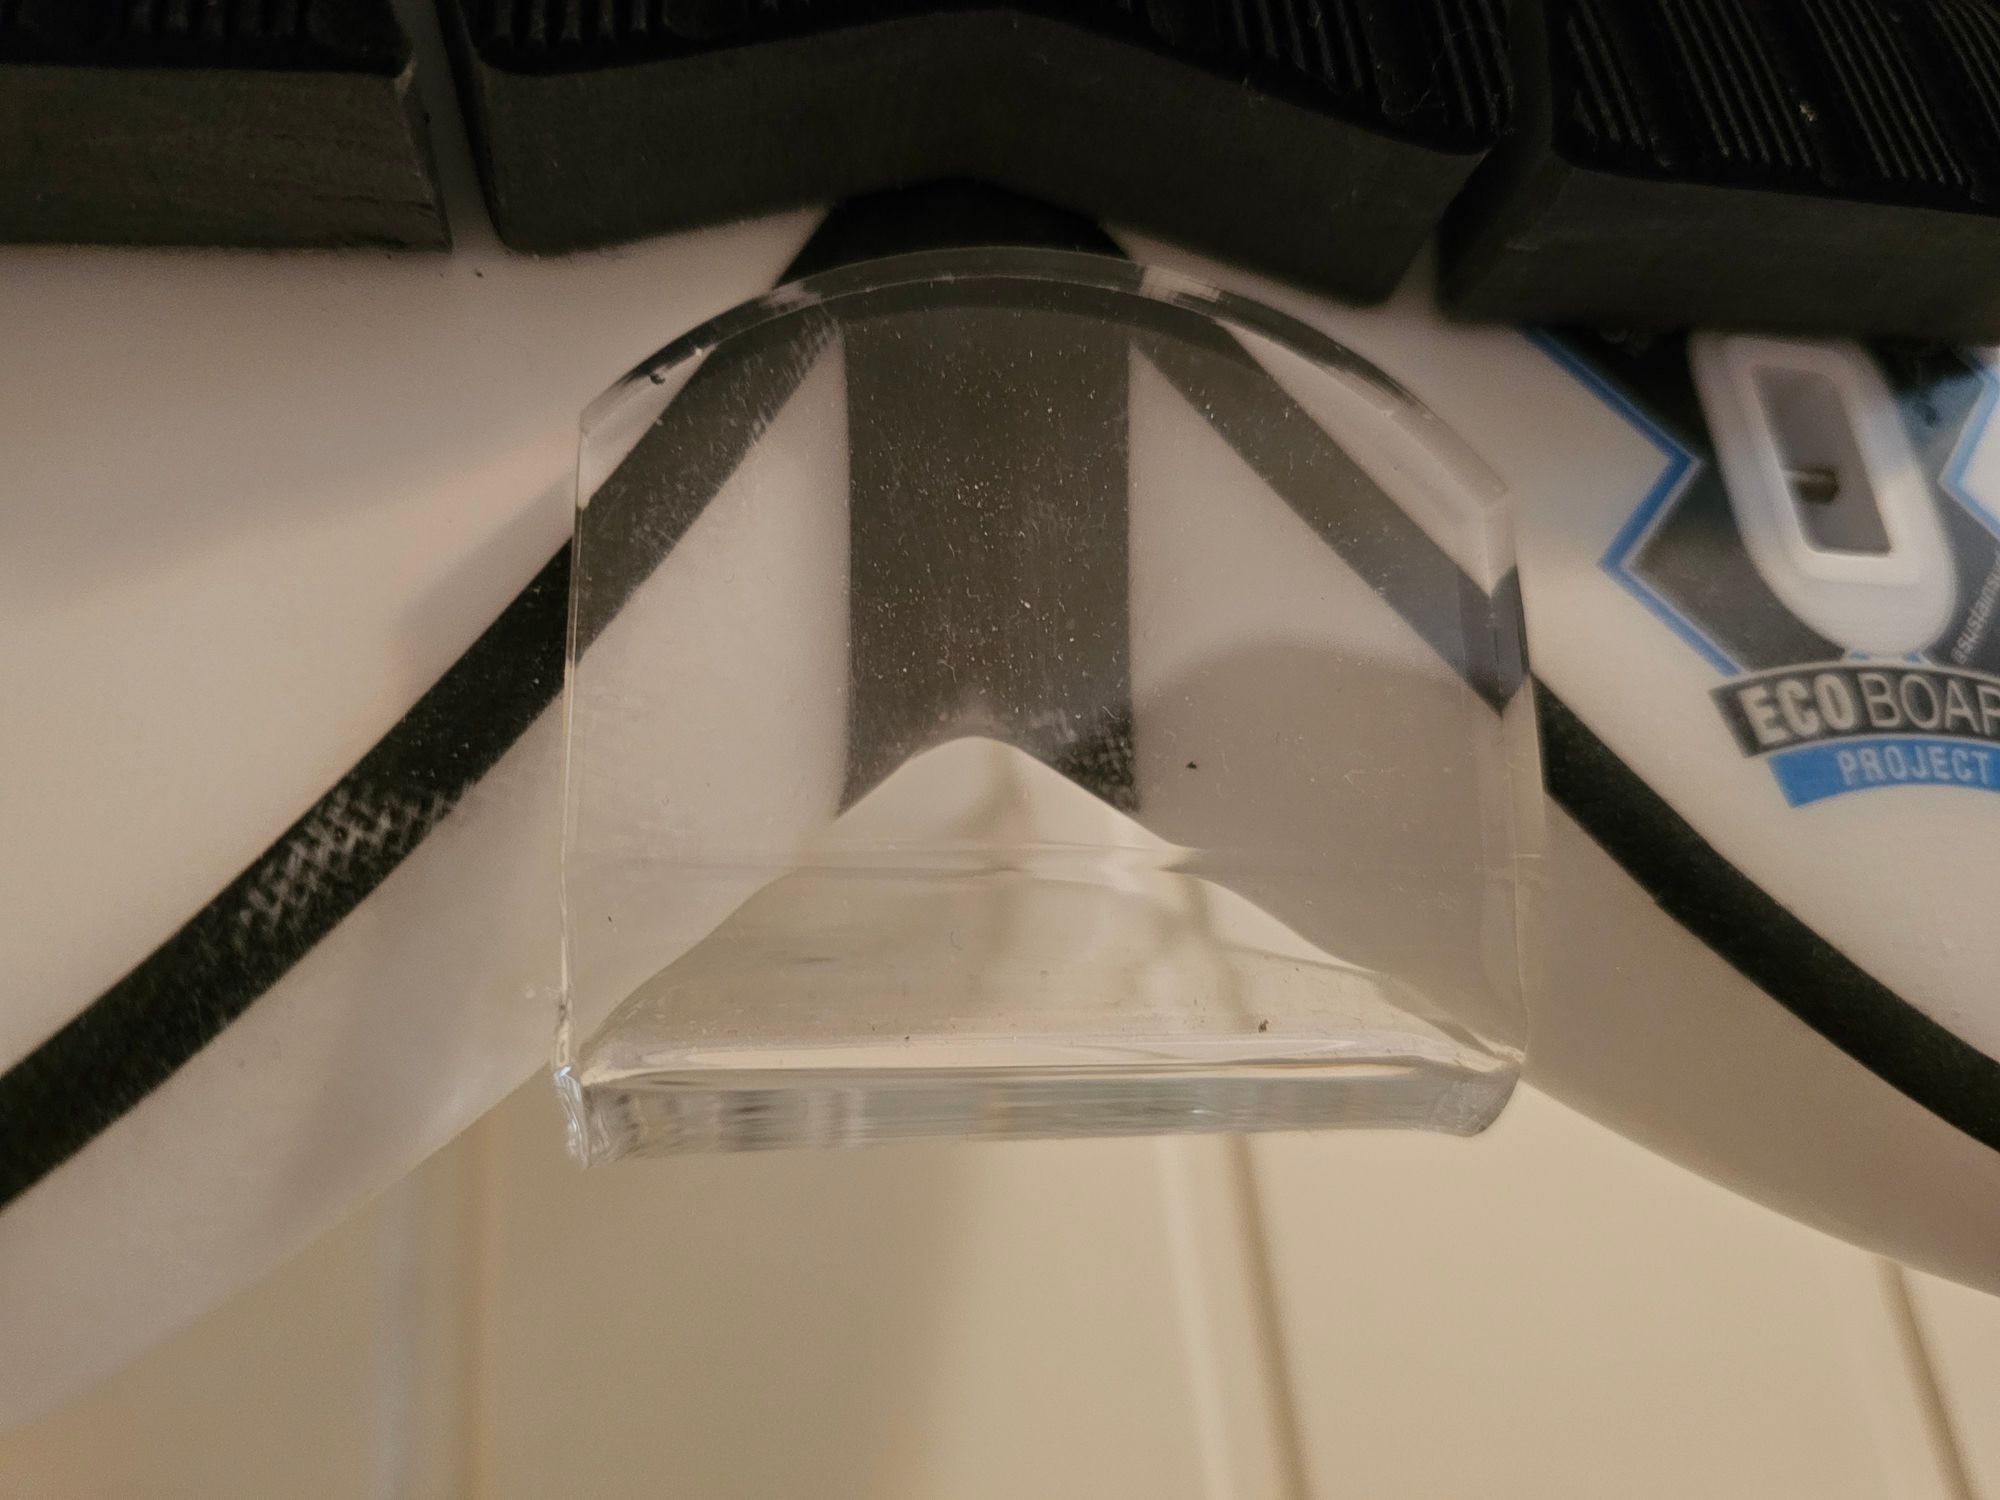
But the edges were not rounded, and in fact quite sharp.
Even on the tail attachment that were meant for use for boards without a centered fin. That means, even with a very light board, extreme pressure on the short section of acrylic glass edge that will support the middle of a swallow tail board.
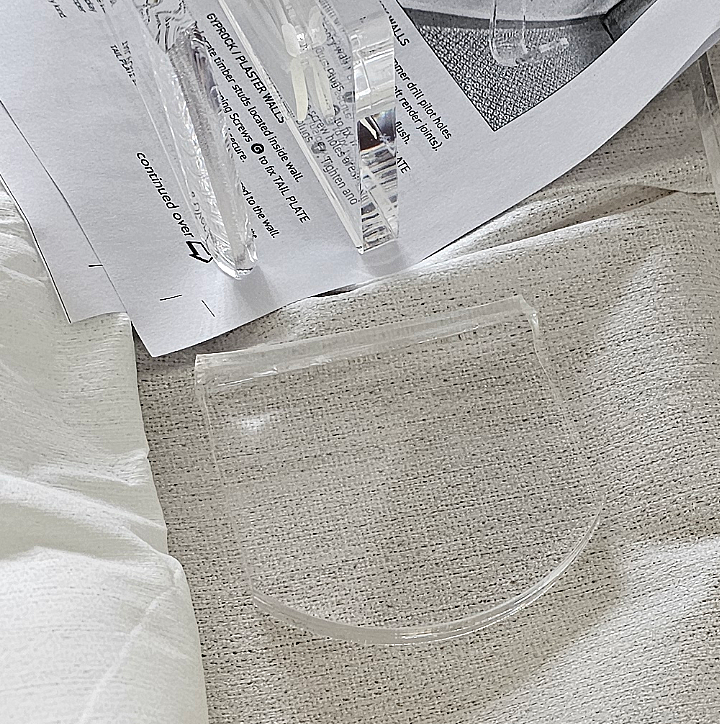
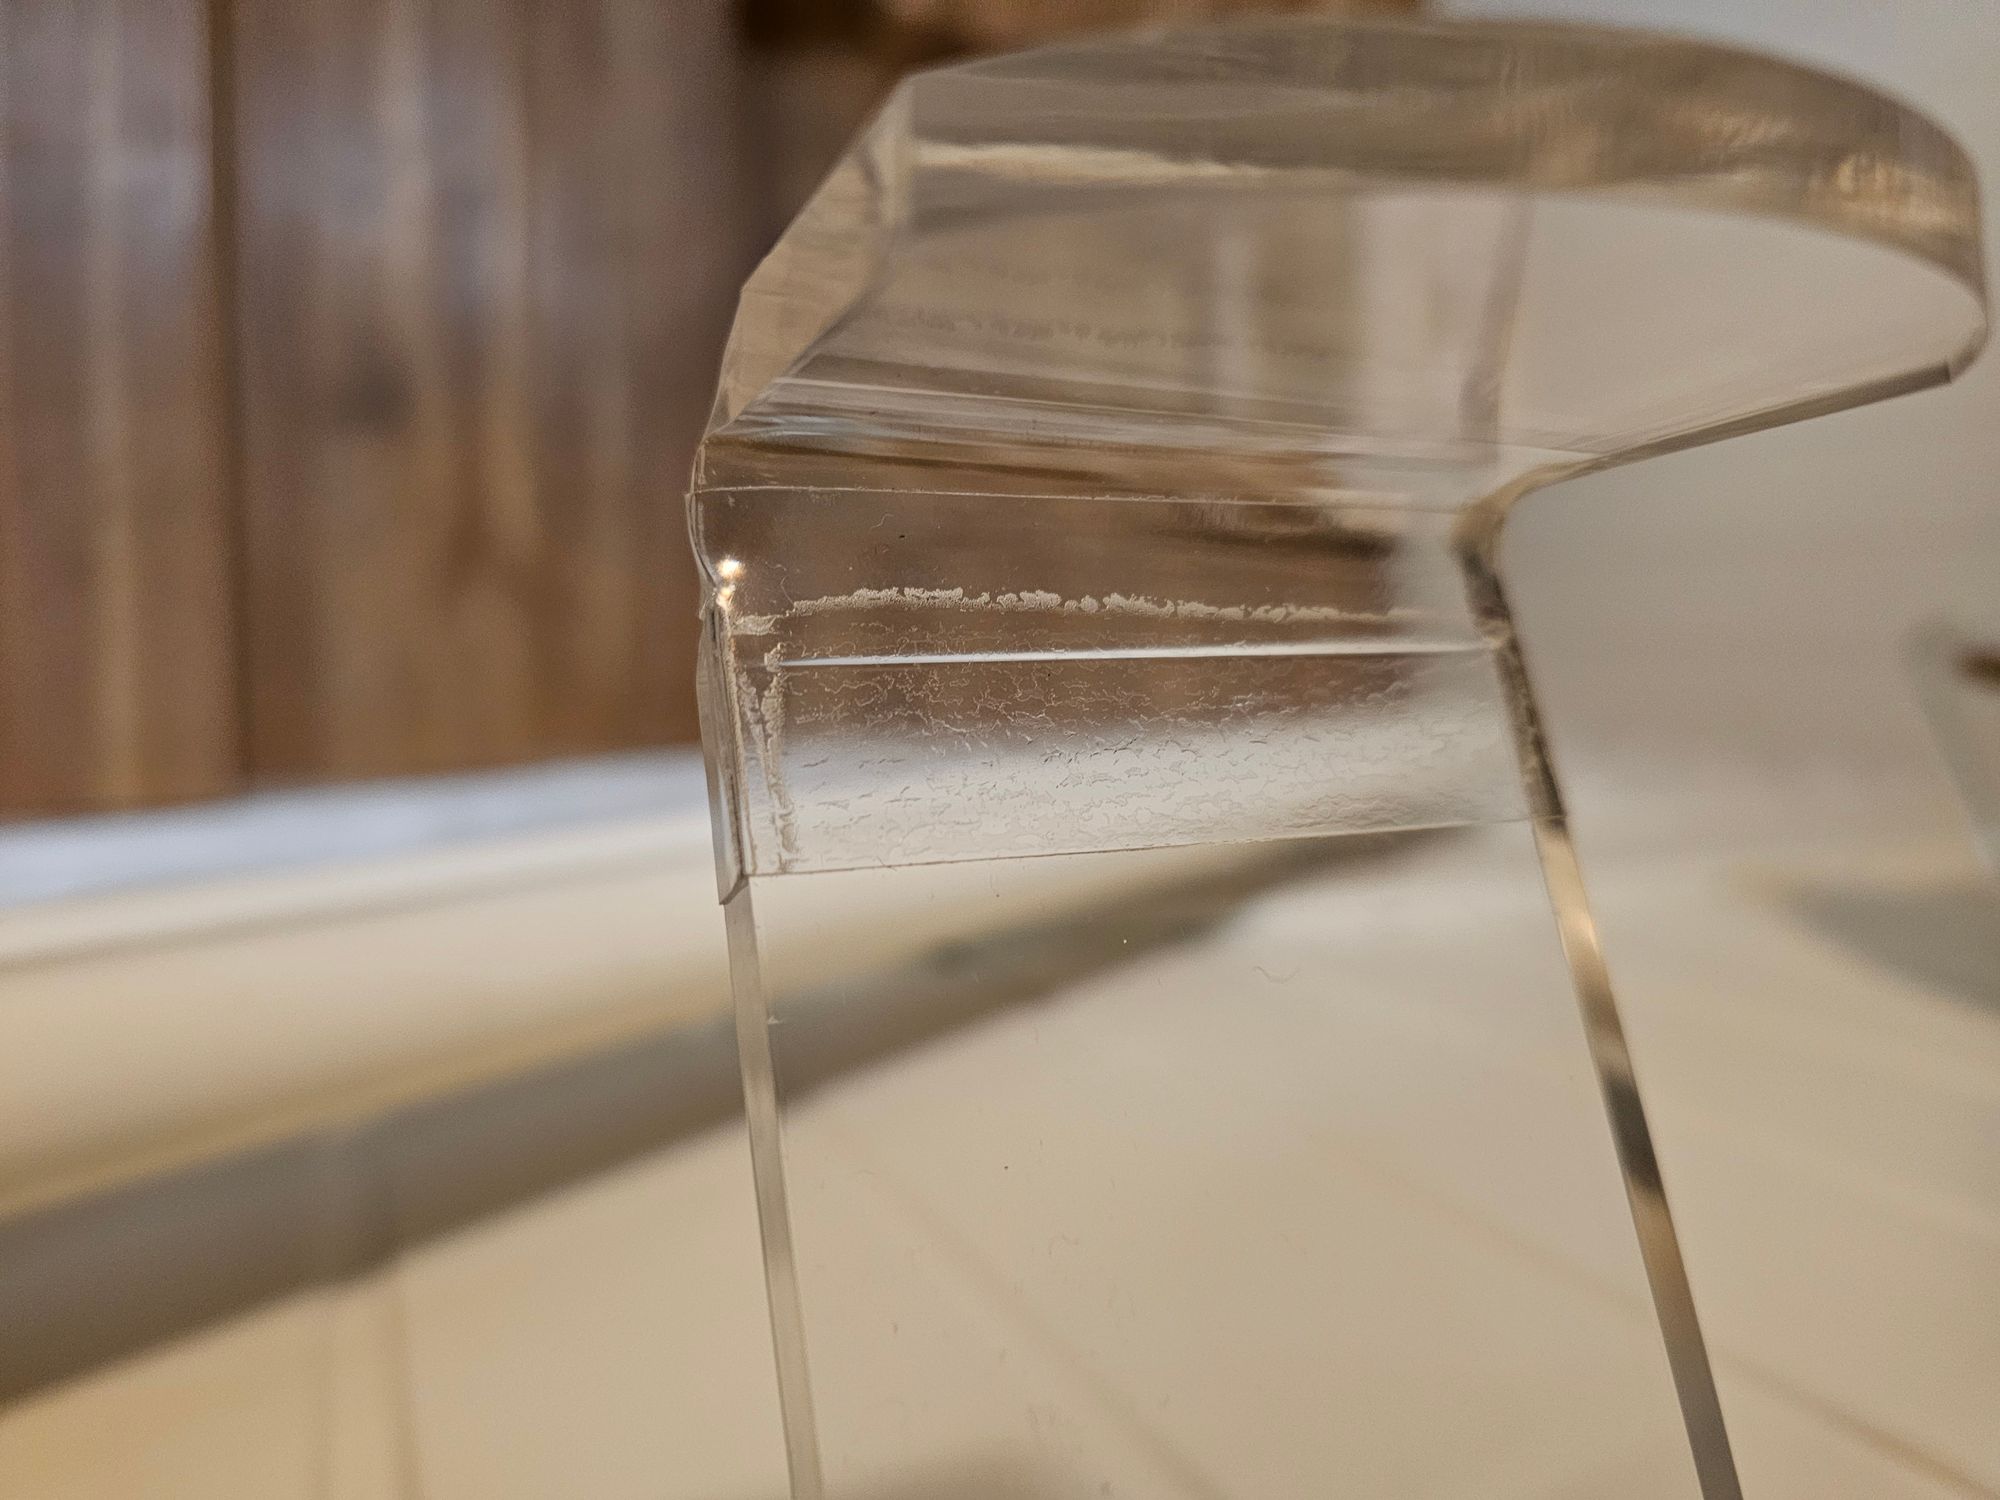
When unboxing a rack for the second board - despite all boxes seemed to be with factory sealed tape, I did not find bolts but instead a broken tail attachment.
Maybe it was an imperfect item with small cracks that spread under load. However, it was broken exactly along the pressure points made by a swallow tail.
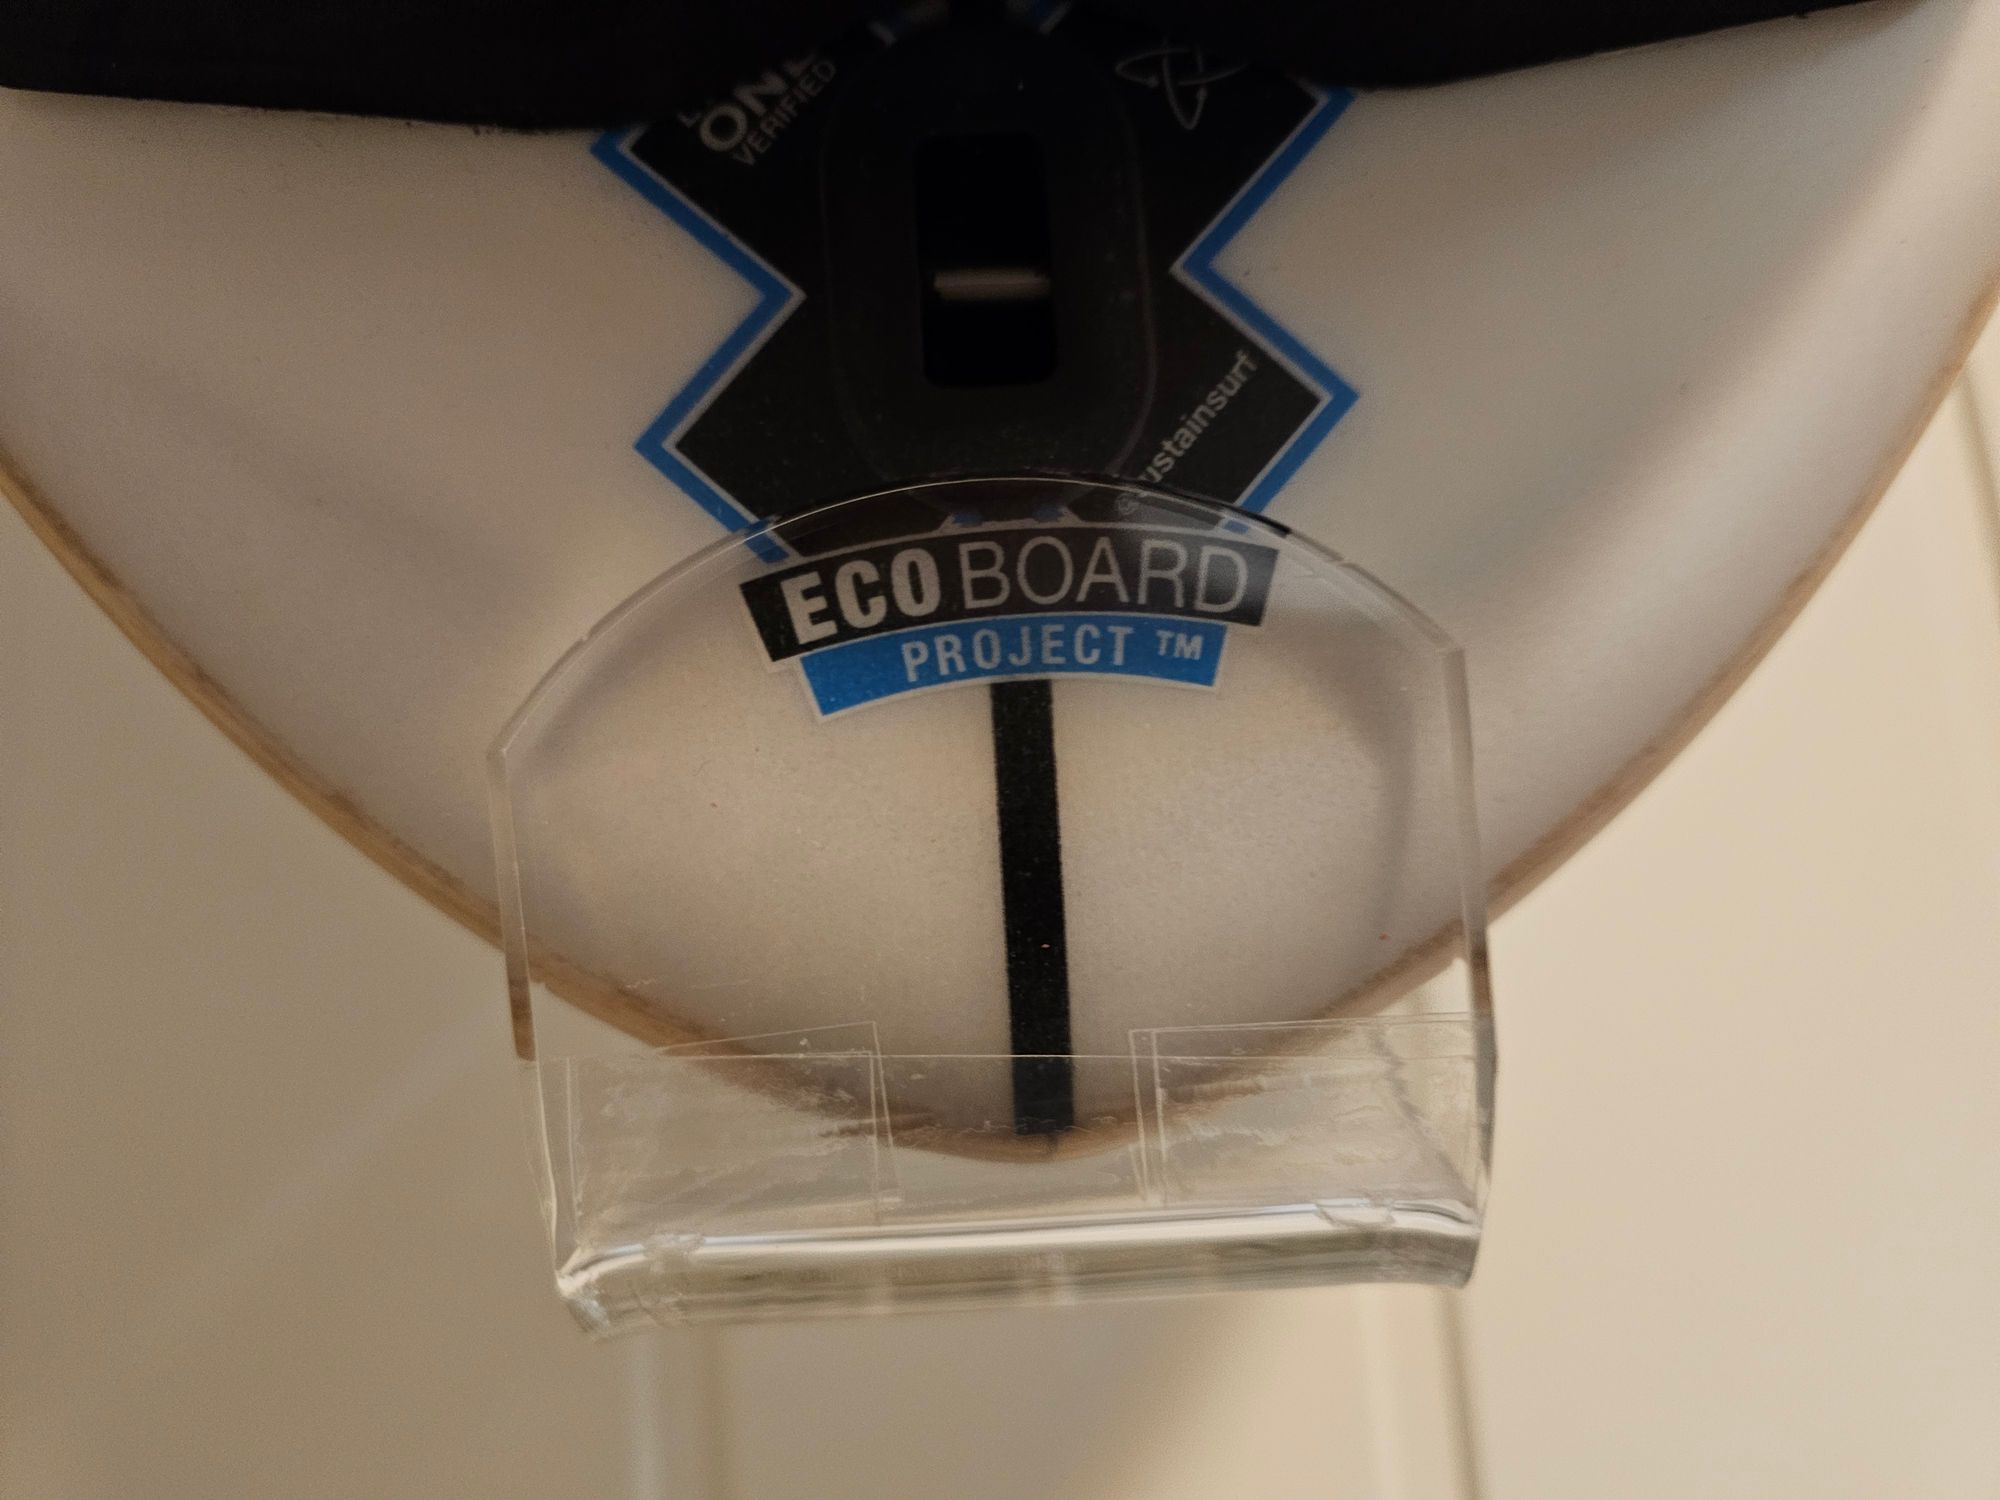
O&E writes "supported by cushioned bumpers to keep your board scratch free". Based on what I not found in several boxes, and the pictures provided by O&E's product page, this is simply not so.
The tail attachment for centered fin was, as opposed to O&E pictures, provided with a padded rim for the fin. Clearly an improvement to stop breakage.
But no padding whatsoever for the other tail attachment or the side arms. More on this in section mounting.
Mounting
Q&E does not seem to publish the otherwise quite good mounting instructions, to be seen prior to purchase. But here's a scanned copy of the mounting guide.
Basic mounting is easy and straightforward.
Side arm adjustment works well. I did not take time to make padding the side arms now, an decided to slide the board straight, slow and carefully up into the sharp-edged arms.
The center fin tail bracket looks well and should be easy to mount and use.
Whit the other tail bracket, made for all cases that does not have a centered fin, you really should make some padding.
When the rack is mounted, the board is hung up, note or mark the contact points between the board and the bracket.
Then apply some helicopter tape (used on rotor leading edges), to the exposed places. Or use SUP rail tape, MTB cable patches, all approximately the same grade and thickness. One or two layers will spread load a lot more.

Next case was a board with round tail.
I did the same trick with a strip of tape, and the extra sideways friction was most welcome. Additionally, I put an extra strip on each side of the contact area, in case someone accidentally nudged the board. And I'm considering some bigger sideways stoppers, because with a bigger board, even is it is a lot lighter than the rack max of 10kg, I think it is not too hard to make a pin or round tail board twist off the tail bracket and drop out.
Wall distance and fitting of fins
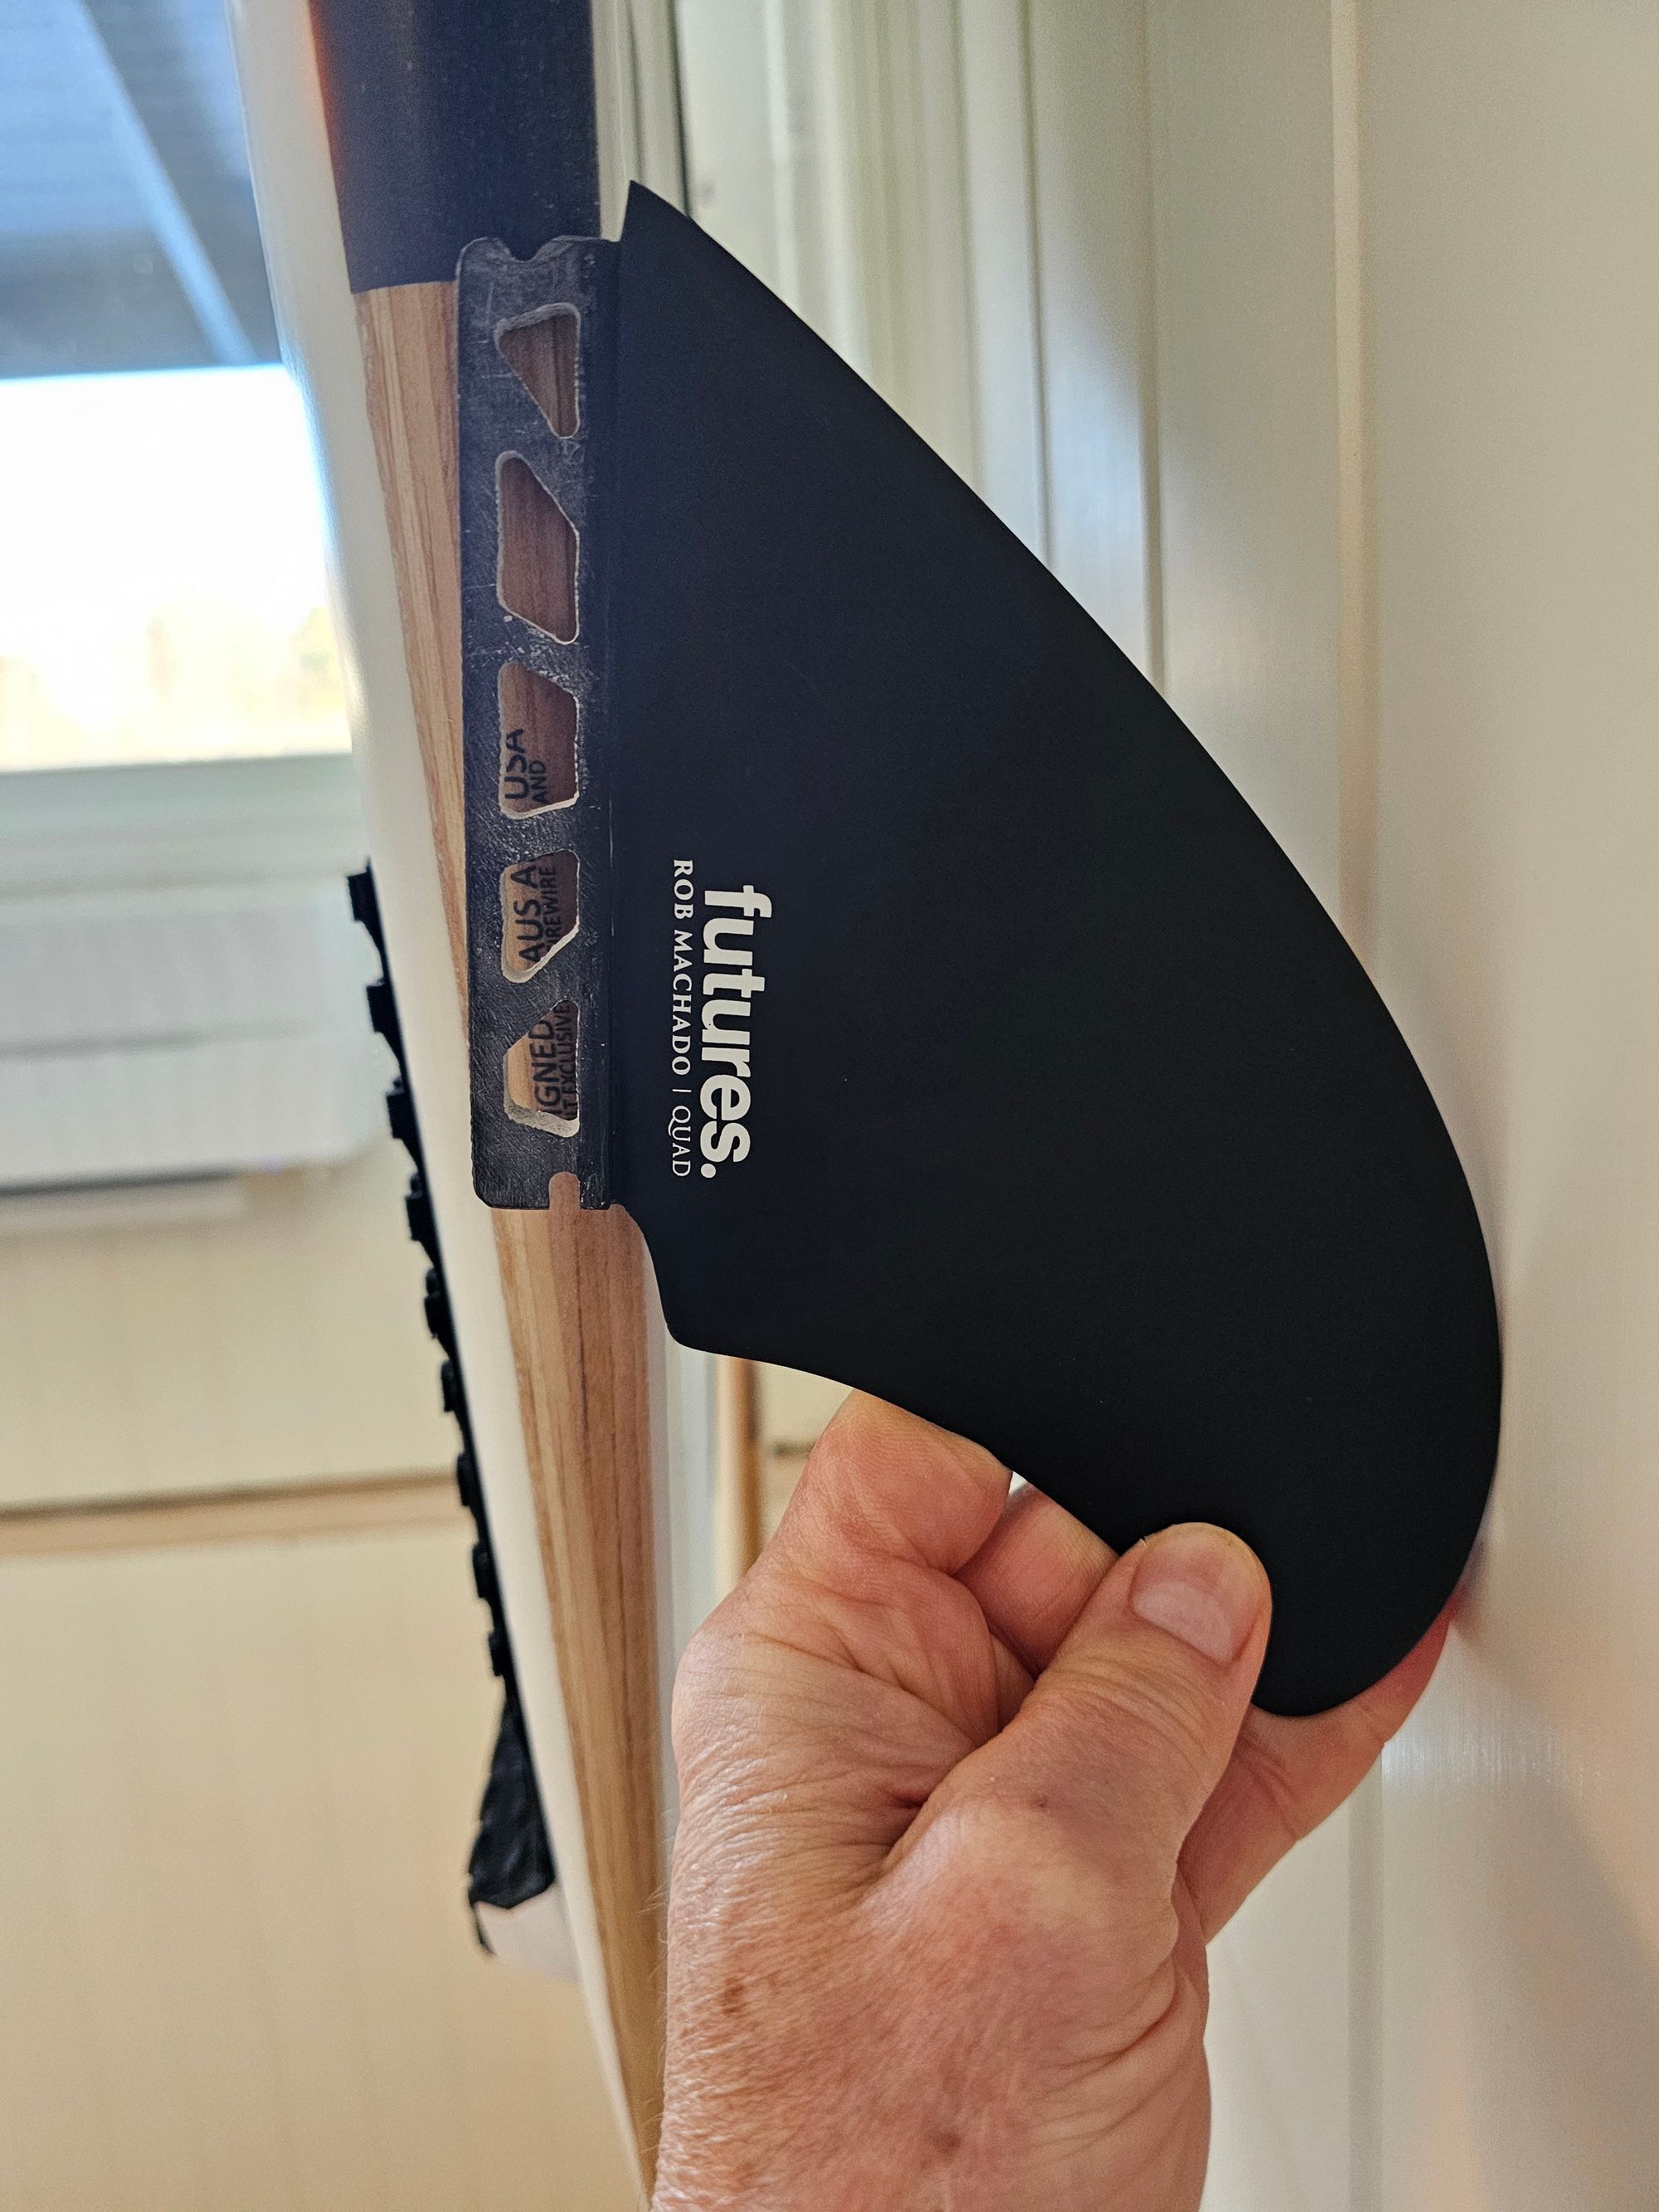
Again, single or thruster fins will work fine if not too big to fit in the cutout of the tail bracket.
For twin or quad O&E says: "Boards with large twin fins will need to be displayed with fins facing outward."
Well, in a showroom you could do anything. But at home I would definitely not face the fins outwards with this rack as it already presents the borad quite a bit away from the wall. Or catch your guests with fins.
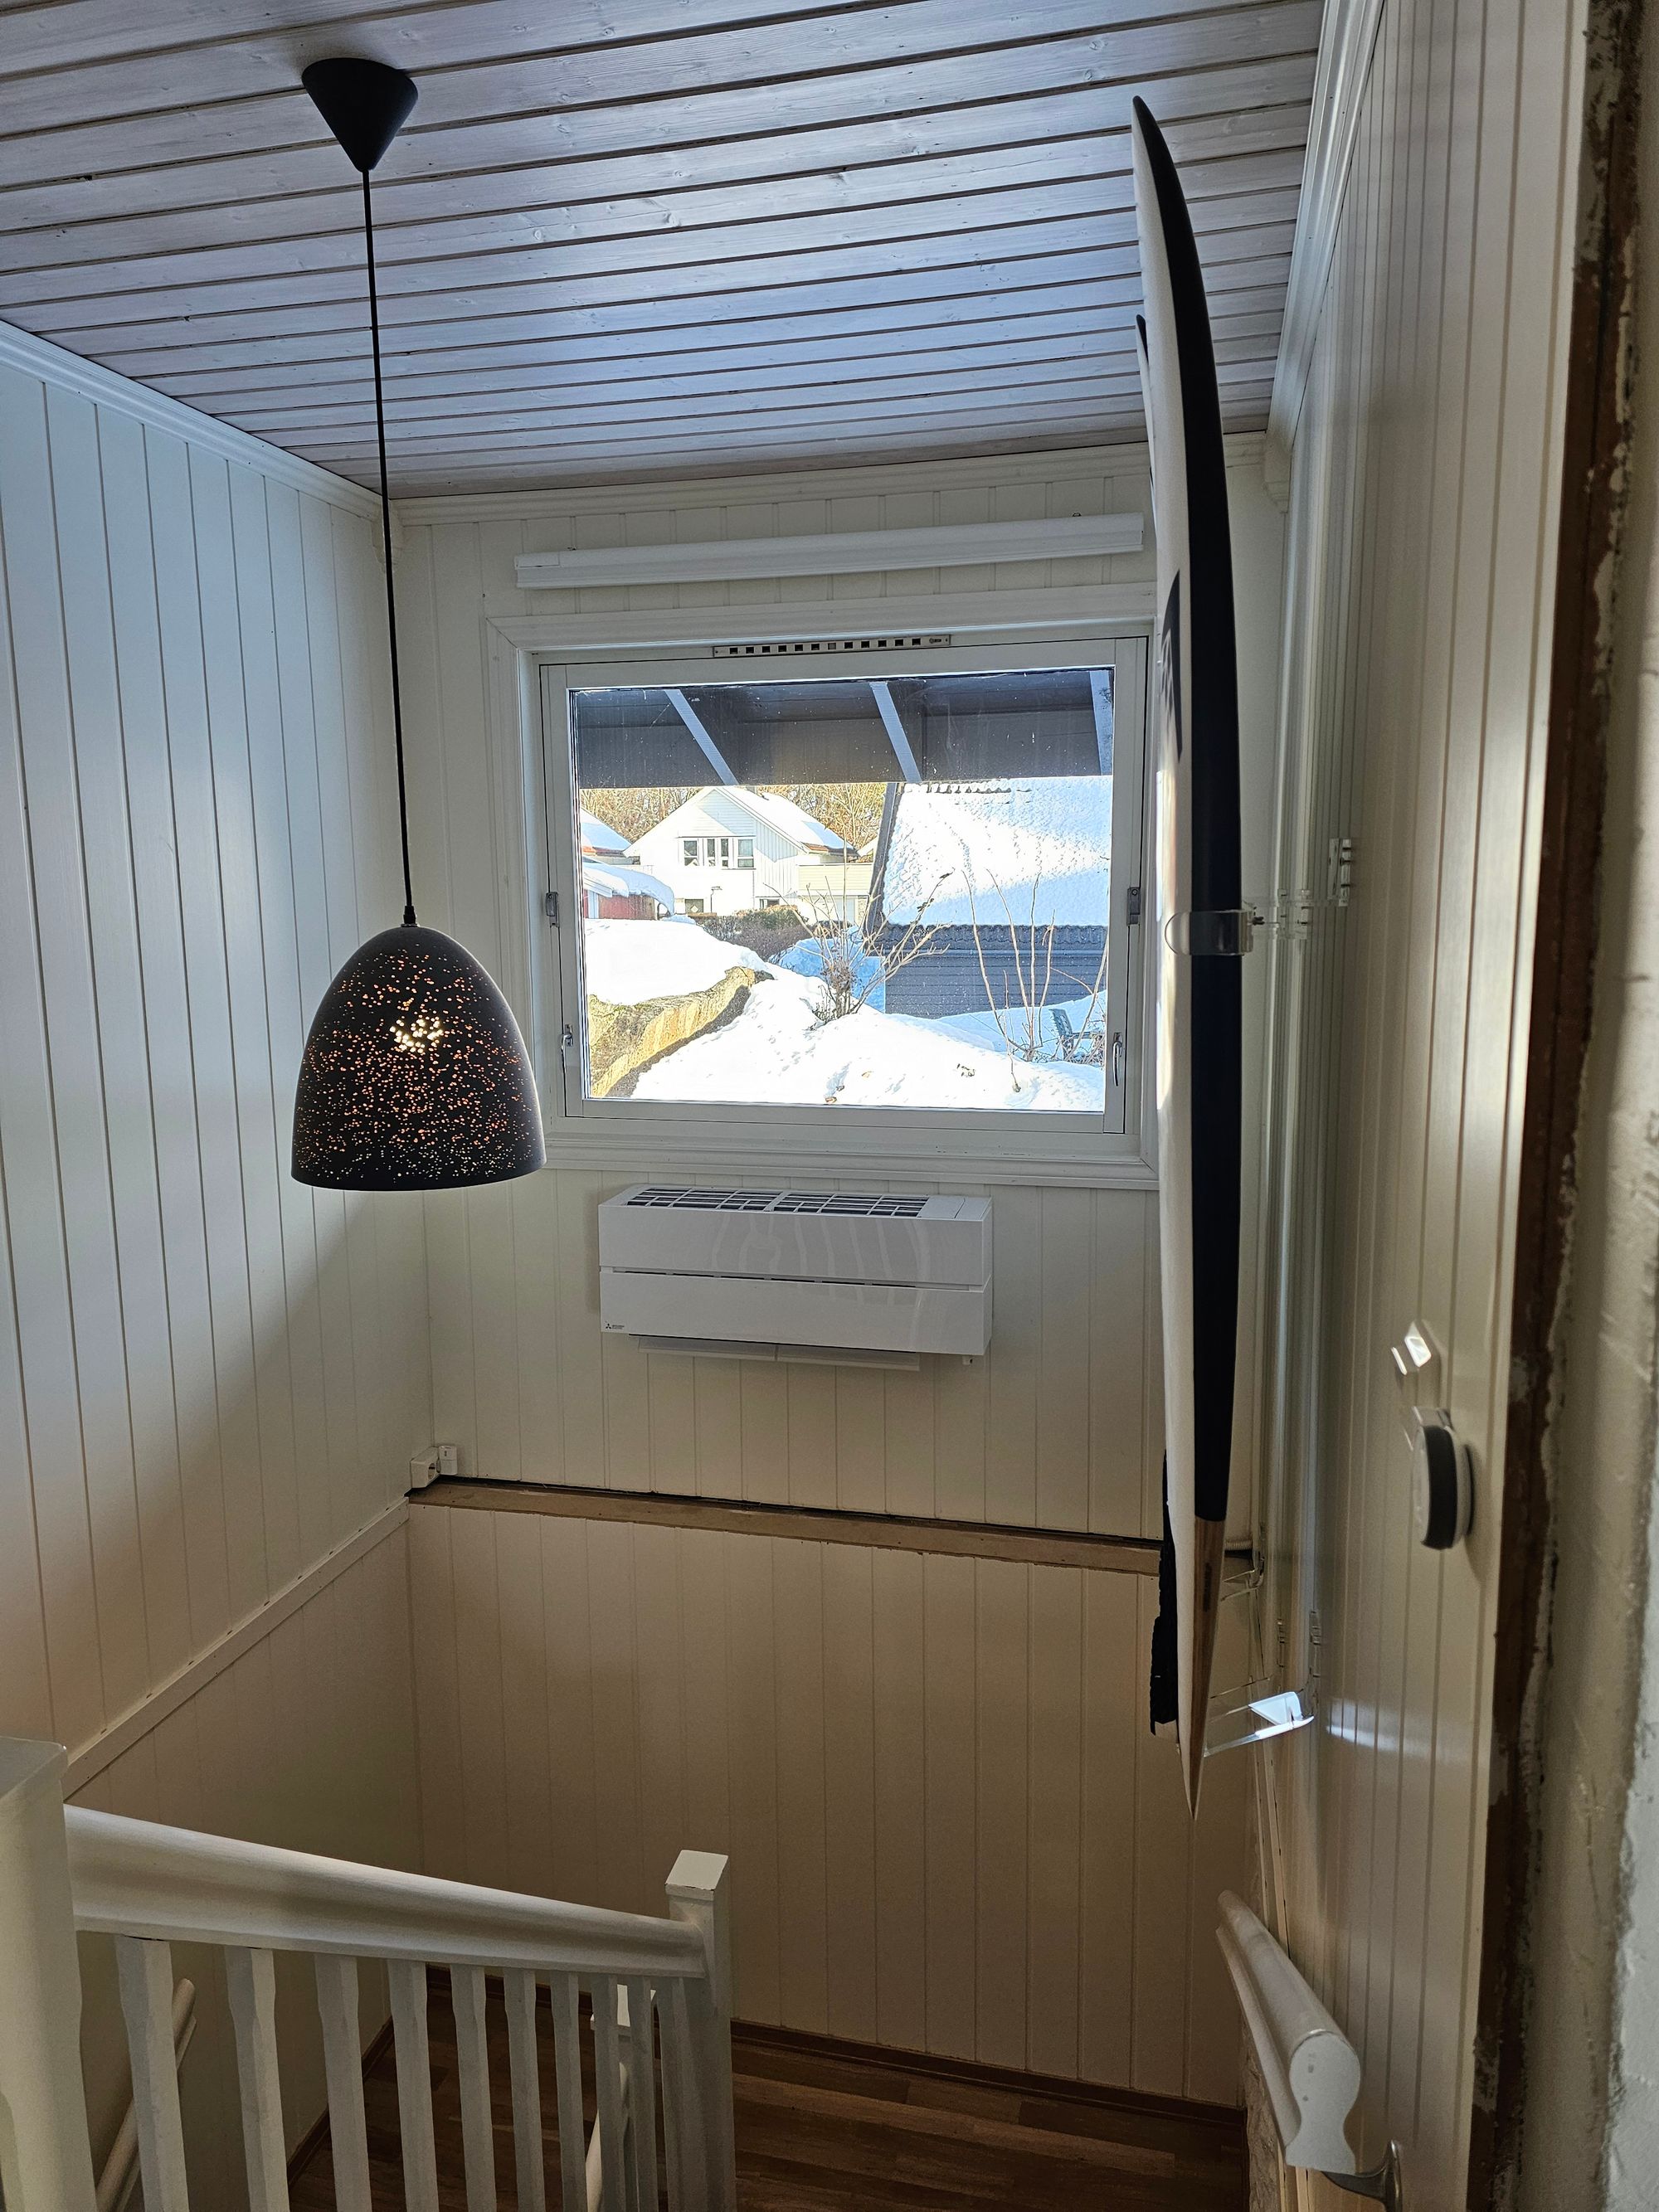
I didn't like the rather big wall to board distance. My first application with this rack was in a stairway that was spacious enough, but after mounting came on the brink of tight. Gotta stick up no drinking signs!
Will I use this rack to fit a couple of smaller board in my living room? But the rack might build too much.